Monday, June 10, 2013

We have Concrete Walls

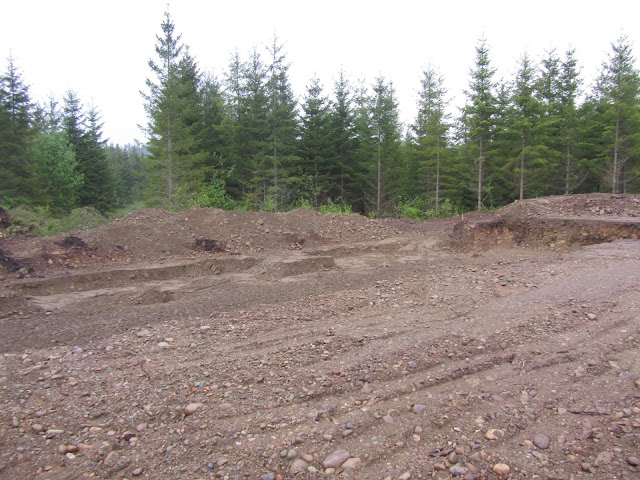
Woke up Saturday to another beautiful day.  It took all day to strip and clean up but the walls are looking nice.  Hard to imagine six months ago that this entire area was covered in trees and underbrush waist high.

View looking southwest toward the garage.  
We started out Sat morning with working on the rough in plumbing and I kinda left that to John (aka the plumber).


You will see a huge L-shaped wall in the back corner of the garage - that wall is 9' tall and about 24' long.  There is also a huge pit in front that has to be back filled that is at least 20 yds, ugh .... although I'm not supposed to backfill for at least 3 weeks to let that beast fully cure.
Nice view across the entire foundation
I started backfilling on Sunday around the stem wall as it was solid and not putting alot of pressure with 16" of material.  The foundation guy said I could make a ramp and drive over with the Dingo but I didn't want to chance placing 2000lbs over the newly formed wall.  So, I slung the dingo over the wall.  I was still a little nervous going over the top of the wall in case something broke but it worked out awesome.  


I would drop in several buckets of material and then use the Dingo to go back and forth to pack down - did this twice for the 16" rise.  The pink stuff - 2" XPS around the perimeter where the the slab goes.  This is only for the areas where the concrete isn't covered by 18" of dirt on the outside.

The rough in for the plumbing was finished although I still need  put two buck outs around the two end pipes for the toilet and shower drain.  This way, we don't have to be exact on the placement and can put right where we want it later .... and just patch around the pipe with concrete.  There will be floor covering it anyway so you will never see the patchwork.  Much easier this way.


Sunday, June 9, 2013

Setting Foundation Walls

After the footings were poured, started right away with setting the forms for the walls.  It took a bit longer than expected because the foundation guy was juggling a couple things but we were only a couple days behind original plan.

All walls set except for the beast wall in the corner.


Passed inspection with three items to be rechecked at a later date but we were able to continue with the pour the following day.  Pump truck arrived and set up as close to the perimeter as he could.  The hose just barely reached the opposite corner at the far end of the house.

Just one of the many trucks that were constantly rolling in and out for a couple hours.


Mark working the hose and Justin working the trowel.


Friday, June 7, 2013

Got Power

Got the call from the electric company that they would be turning on the power sometime today but couldn't give me a timeframe.  I had dumped 10yd of sand by the temp pole pit but had to take some by the transformer pit so I got there early to move about 4yd.

The power company showed up first thing and got right to work.

The three lines were big and filled up the 3" pipe.  They attached the cables to the 250' rope I had to leave inside the conduit and the guy on the other end started to pull.

Even though there was only one slight bend, about 22 degrees, he was still pulling hard to get that wire through the conduit.  I jumped in and helped him pull for about the last 100' so that was pretty cool.  I wanted to get some pictures of them actually connecting up the wires but the lumber salesman showed up to go over the upcoming first load.  By the time I finished up, they were already done and packing up.

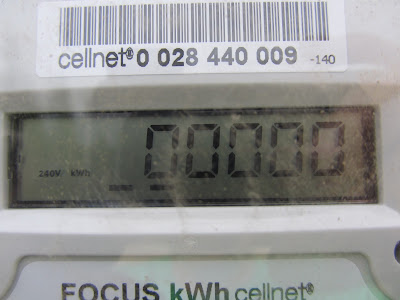
I then filled in both pits with sand and checked the meter .... it shows all 0000s.  Pretty sweet.

We now have power and don't have to worry about taking generators back and forth.

Monday, June 3, 2013

Excavation Mods and Electrical Inspection

After Mark was setting up the footings forms, there were two areas that needed additional excavation so I was able to take care of it and now can say that excavation was one of the many trades that I ended up doing :-)

Here's the view looking down to one of the marked out areas that I need excavate.

Even though I had a long arm on the mini, I couldn't quite get too close to the edge as it would exert too much pressure on the walls and possibly cave in.  Thus, I had a lot of manual digging.  I pulled out as much as I could with the mini and then shoveled the rest into the bucket and then climbed back up to to dump it.  That was definitely a workout.

 The remote temp pole needs to be inspected by L&I before the electrical company will hook up temporary power.  The first time I failed because the meter box I'm using (provided by framer) is an above ground only and I fed the service lines from the bottom.  The electrical connections were correct but the wires had to enter from the top even though the power is coming from below ground.

I had already purchased the wire (3) 2 AWG and didn't have alot of excess so I had to try and route from top while still leaving the minimum required by electrical company (they wanted 5').  I used (2) LB connectors and some conduit to piece it together.  It wasn't pretty, actually really ugly and it truly bugs me because I'm kind of an neat and orderly person.  I call it frankstienish but the inspector said it just has to be functional.  So be it, I called again and this time it passed so I should have power within 5-10 days.


I also worked some more on the silt fence and have about 180' installed, staked, stapled, and backfilled.  I'm just waiting for the first deer or elk to rip it apart.


Foundation Footings

Well, we received the permit so we now can move ahead with the foundation!!  It took about 5 weeks to get it so that was pretty fast and there were only a couple issues to be addressed.  The engineer had to write a letter to justify the snow load calculation and the designer had to to add a CO detector and insulation under the stairs.

The foundation guy, Mark, is ready to go and setting up the boards for the footings.


The soils up here are amazing and even after raining for a week, there are no puddles except for one small area that is compacted from the trucks.  This means no run off or erosion but the county still wants to have a drainage plan that is engineered ($1000) and pay them a drainage fee ($1900).

I used the 12" bucket on the excavator to dig a shallow trench to install the silt fence to prevent erosion ... which I will bet I never get any dirt built up against the fence.


Even though the silt fence comes up stakes at 10' apart, the county requires wooden 2"x2" stakes every 3'.  I  purchased 8' fir boards, cut them in half, and then cut angles to drive them in the ground.


Big Big Hole

Well, they finished in two days and I was completely amazed at how big the hole was and how much material was piled around.  I knew it would be big but this was crazy big.

The area is now ready for footings and pier pads


View from rear of house looking toward front


Sunday, June 2, 2013

Little Big Hole

The permit should be ready within a couple days but I went ahead with the excavation so we would be ready for foundation once I get it.  Dean and crew started about 8am and said they would be done by end of next day.  That is good news but they sure make bank ... to the tune of about $150/hr if they finish tomorrow.  Everyone says they are the best so that gives me assurance.

The day before, I marked out the house with the foundation guy but when Dean showed up, we had to remark as there was a mistake.


Cutting in for the basement


First cut completed


Close up of first cut completed


There was so much material moved that they moved about 100+ yds to fill in the driveway entrance.  This was awesome because the entrance and the house are same ground level but there is about a 2' dip in between.  Now it is a nice flat entrance all the way from the street to the house.

Spreading out material to raise driveway